

Step by step: How to change your kitchen countertop?
The kitchen is the heart of the home, and the countertop is one of the key elements that defines its appearance and functionality. If you’re thinking about giving your kitchen a makeover, changing the countertop can be an excellent option. In this article, we’ll guide you through a simple step-by-step process to successfully complete this transformation.
Should you do it yourself or rely on a professional?
One of the first crucial decisions when embarking on a kitchen countertop replacement project is whether to tackle the task yourself or hire a professional. Both options have advantages and disadvantages, and the choice will depend on your DIY skills, budget, and the time you can dedicate to the project.
Do it yourself:
If you’re handy and enjoy DIY projects, replacing your kitchen countertop yourself can be a great option. This will allow you to save on labor costs and give you complete control over the entire process. However, it’s important to keep in mind that having the right tools can present some challenges, as various instruments and equipment are involved.
Hire a professional:
If you’re not comfortable with DIY projects or would prefer not to dedicate more time to your kitchen renovation, hiring a professional might be the wisest decision. A professional installer ensures accurate measurements, smooth delivery to your home, and precise countertop cutting. Choosing this approach gives you peace of mind knowing an expert is in charge, guaranteeing optimal results.
How to change your kitchen countertop step by step
Step 1: Inspiration and Style Selection
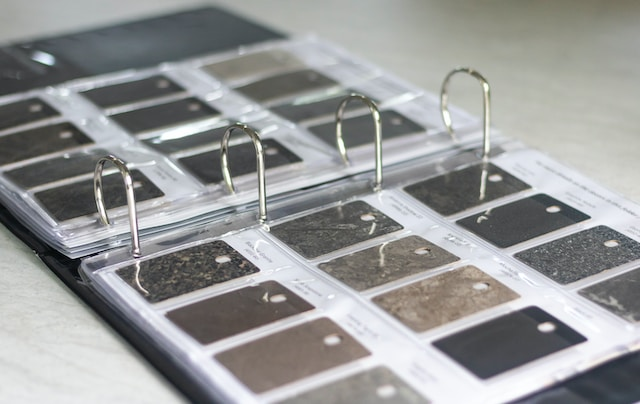
Before you begin, take some time to explore the latest kitchen design trends. Decide which style best suits your tastes and needs. There’s a wide variety of options available, from granite countertops to sleek quartz surfaces.
Step 2: Measurement and Budget
Once you’ve chosen a style, carefully measure your workspace. This information is crucial for getting the right amount of material. Also, get quotes from different places to ensure you find the option that best suits your project.

Step 3: Tools and Materials
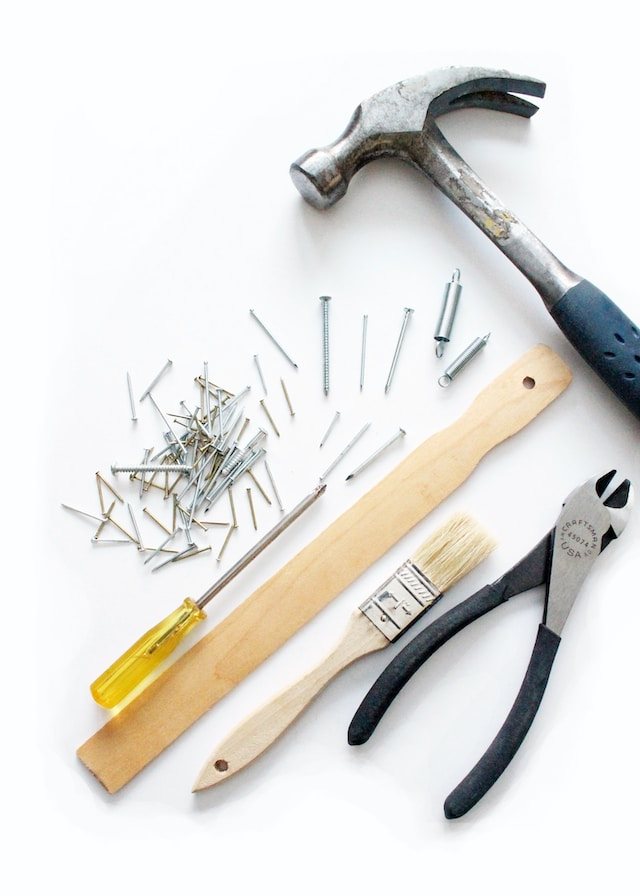
Before you begin installation, make sure you have all the necessary tools and materials. Consult with experts at home improvement stores for guidance on the right tools for installing your new countertop.
Step 4: Remove the Old Countertop
With the right tools on hand, carefully remove the old countertop. Unplug any appliances and work cautiously to avoid unnecessary damage. If you’re not comfortable doing this yourself, consider hiring a professional to remove the old countertop.
Step 5: Surface Preparation
Prepare the surface for installing the new countertop. To avoid imperfect finishes, make sure the base is solid, clean, and level.
Step 6: Cut and Install the Countertop
Measure and cut the new countertop to fit your space. Carefully install the countertop, making sure it’s properly aligned. If it’s a heavy countertop, get help lifting and positioning it.
Step 7: Sealing and Finishing
Apply sealant to the edges of the countertop to prevent leaks and protect it. Pay attention to the finishing details, making sure everything is perfectly finished.
Step 8: Installation of the Sink and Other Elements
Install the sink and any other elements, such as faucets and accessories. Make sure all connections are tight and working properly.
Step 9: Ongoing Maintenance and Care
Follow the care instructions for your chosen material to keep your countertop in top condition over time. Here are some key tips to keep your countertop looking its best every day.
- Regular Cleaning : Perform periodic cleanings with mild, non-abrasive products.
- Periodic Sealing : If your countertop requires sealing, perform this task regularly according to the manufacturer’s recommendations. This will help prevent stains and increase durability.
- Avoid Direct Impacts and Cuts : Use cutting boards when preparing food to prevent direct damage to the countertop. Avoiding impacts and cuts will prolong the life of the material.
- Protect from High Temperatures : Use trivets or heat-resistant mats to place hot pots and pans on the countertop. Some materials are sensitive to extreme heat.
- Avoid Harsh Chemicals : Do not use strong chemicals, such as bleach or powerful degreasers, as they can damage the surface. Opt for mild, countertop-specific cleaners.
- Spill Protection : Clean up any spills immediately, especially substances like red wine, coffee, or oils, which can stain certain types of countertops.

Remember to adapt these tips to the specific needs of your countertop material to get the best results.
Step 10: Enjoy your renovated kitchen
With the countertop installed and the final details taken care of, it’s time to enjoy your renovated kitchen. Make the most of this newly transformed space and find satisfaction in the change you’ve achieved. Enjoy your kitchen with a countertop that reflects your style and personality!